MENU
Portfolio
About
Let’s do something together!
Contact
Portfolio
About
Let’s do something together!
Contact
Here are some examples of the stuff that kept us busy in the past.
All
Branding
Commission
Expo
Free Download
Shop
Special
Video
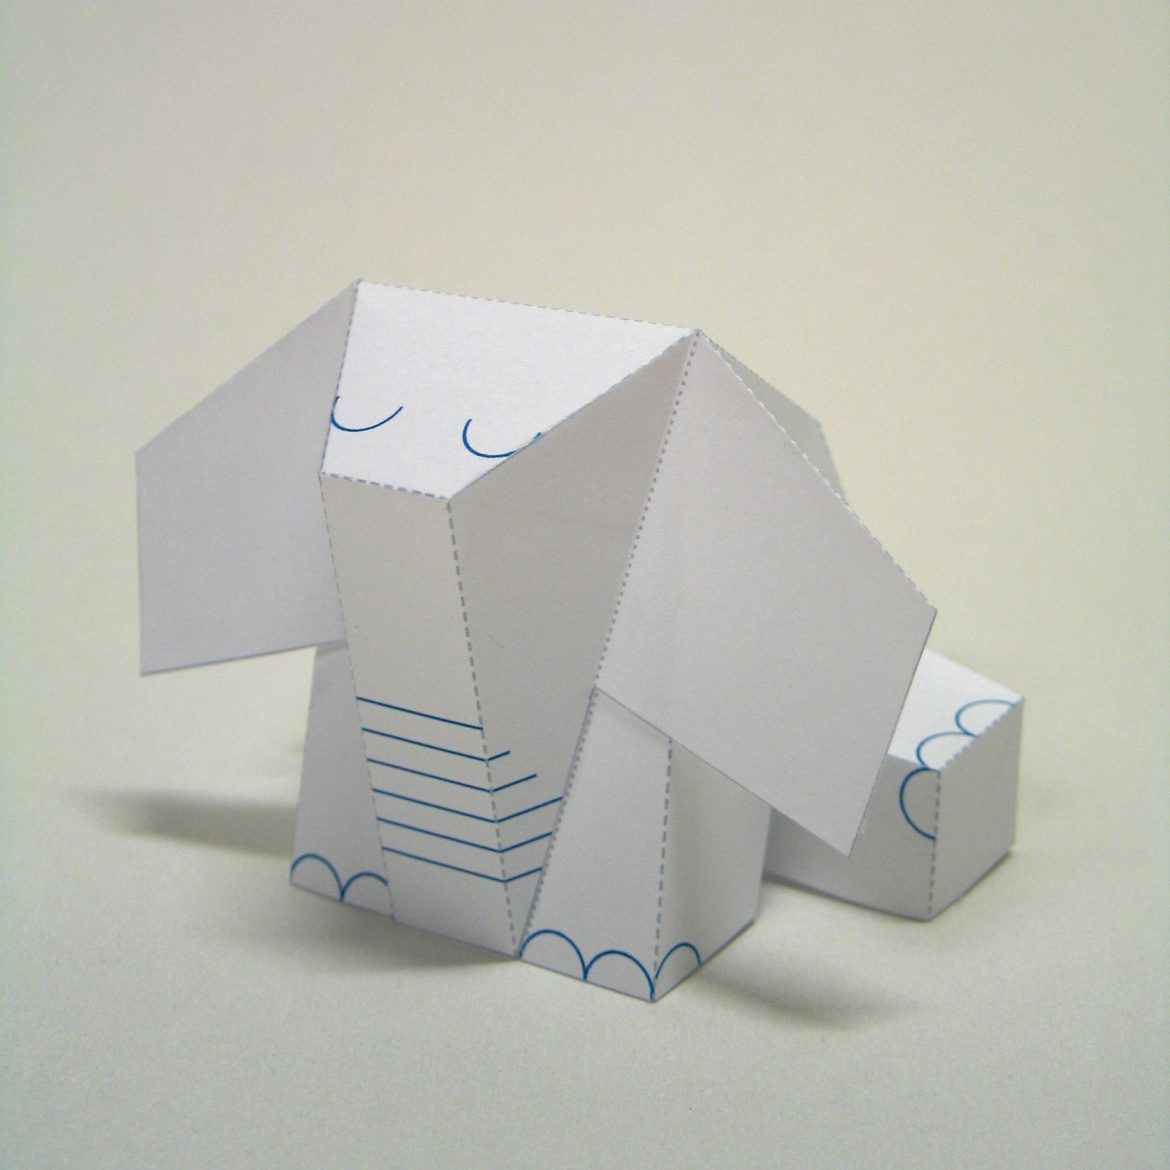
Elephriend
Expo
,
Free Download
,
Special
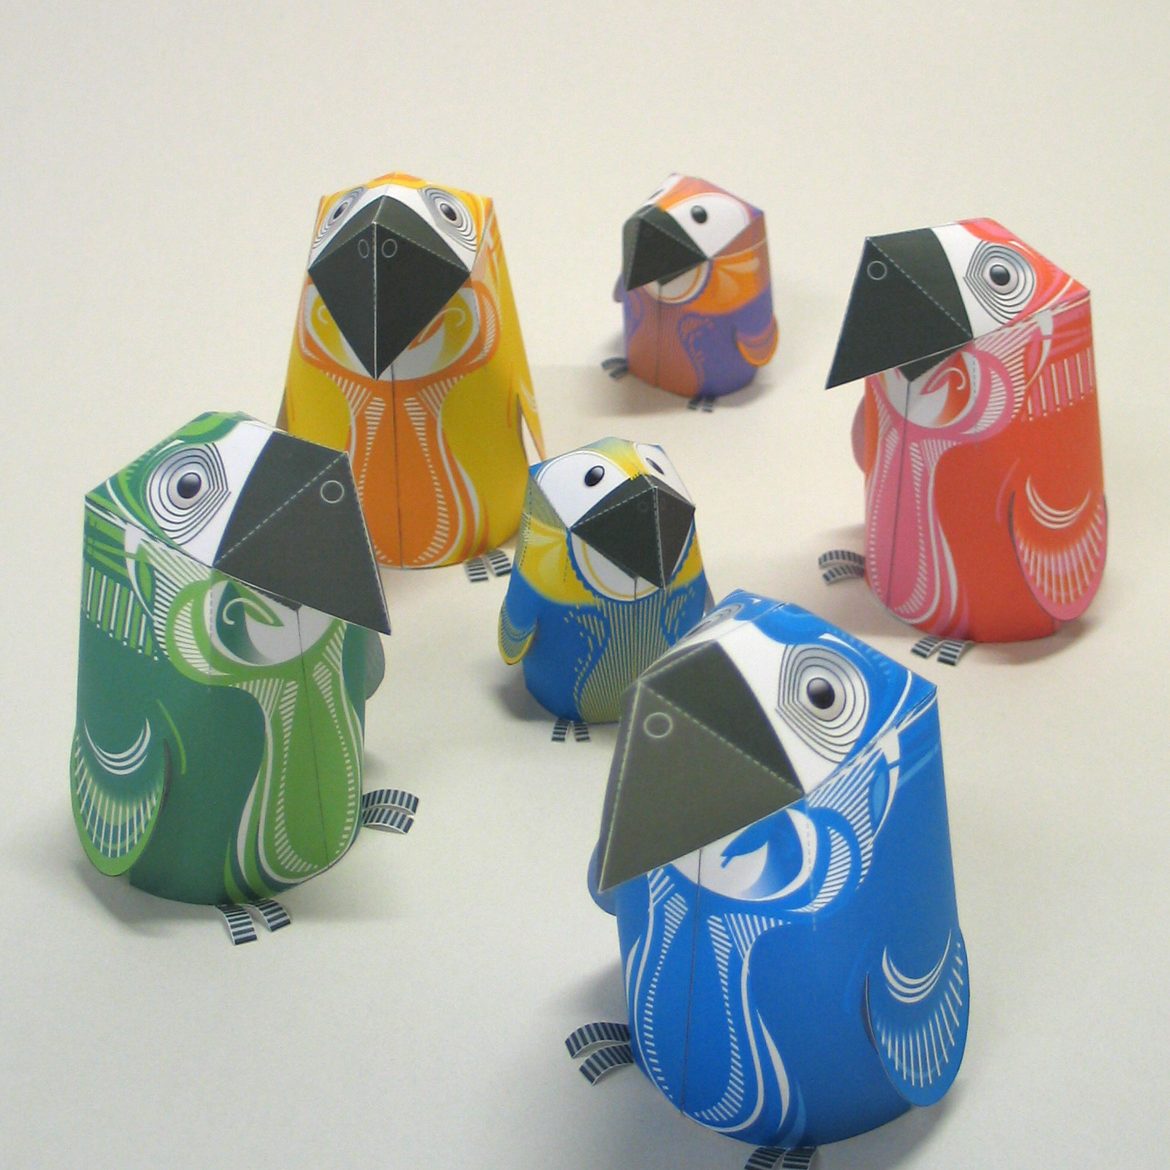
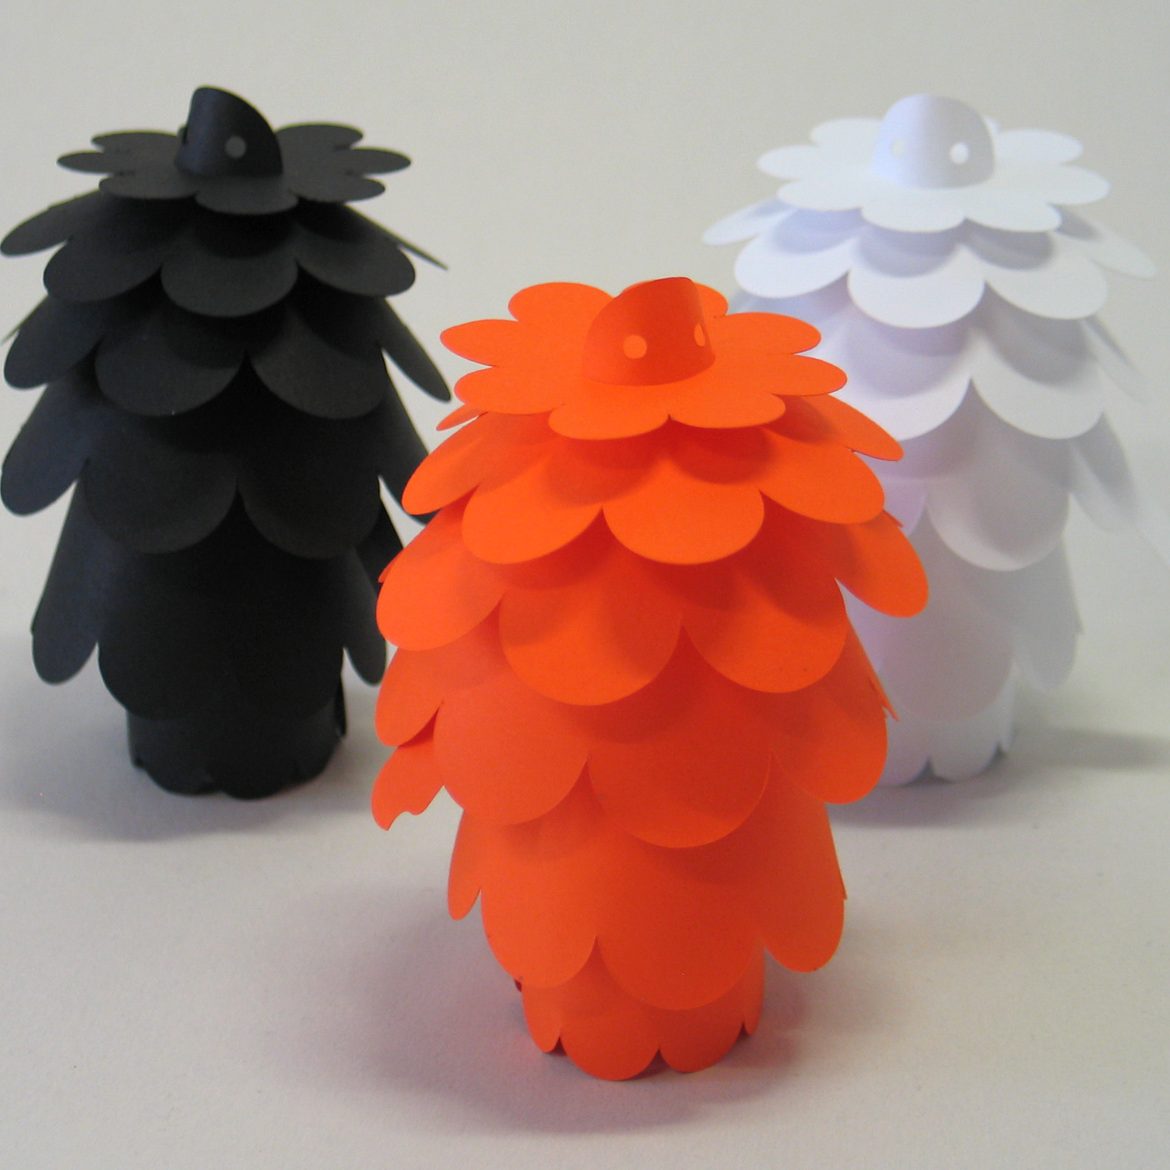
Parrots
Commission
,
Shop
Kadoorie
Commission
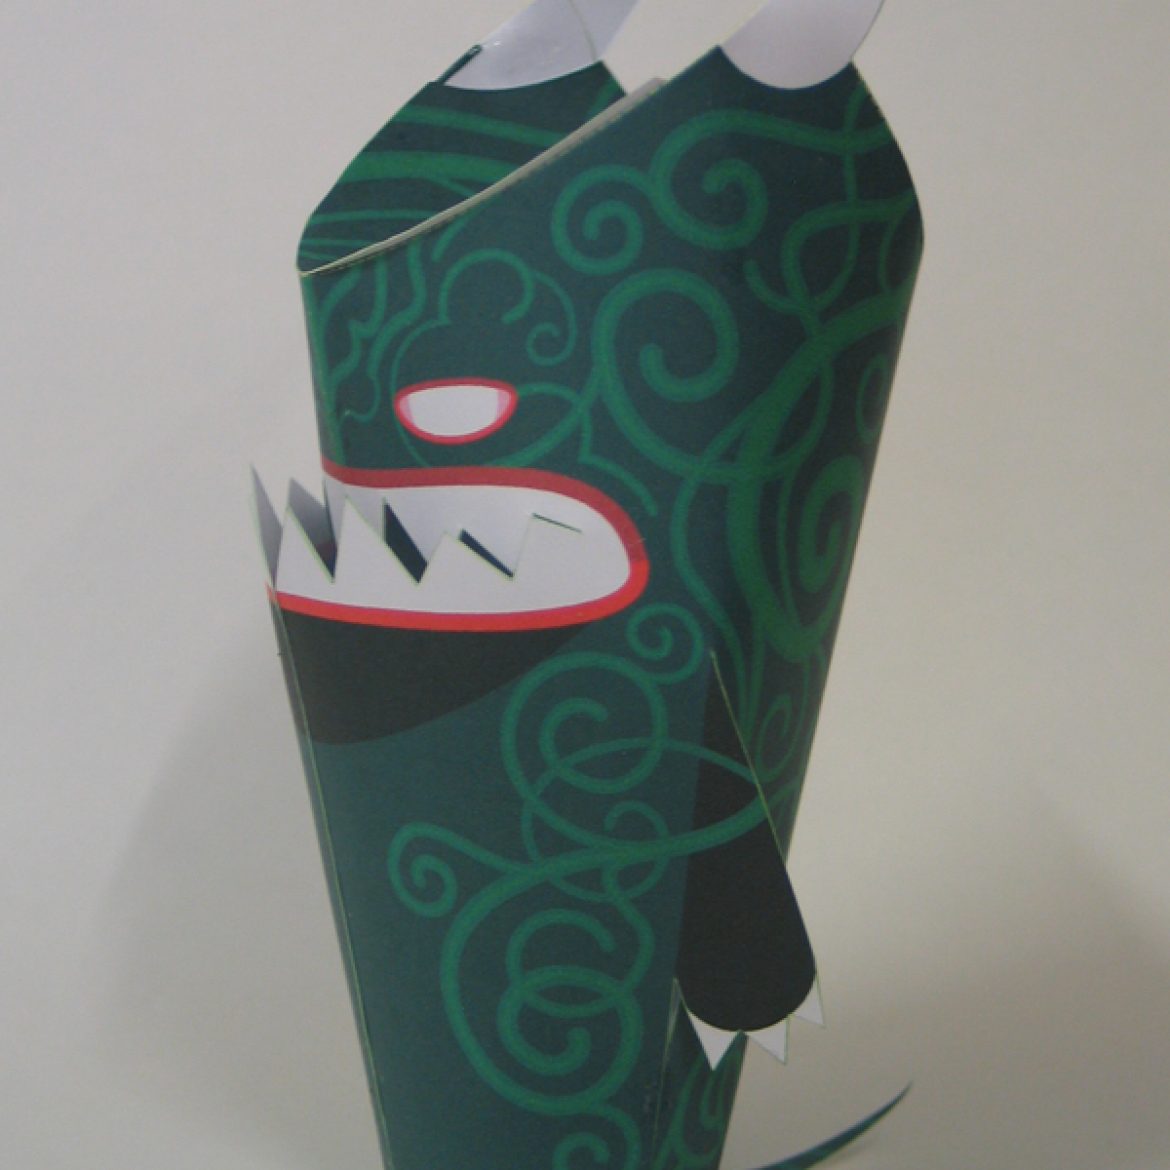
Comi-Gami
Shop
,
Special
SkateDeck
Commission
,
Expo
,
Special
Posters
Expo
,
Video
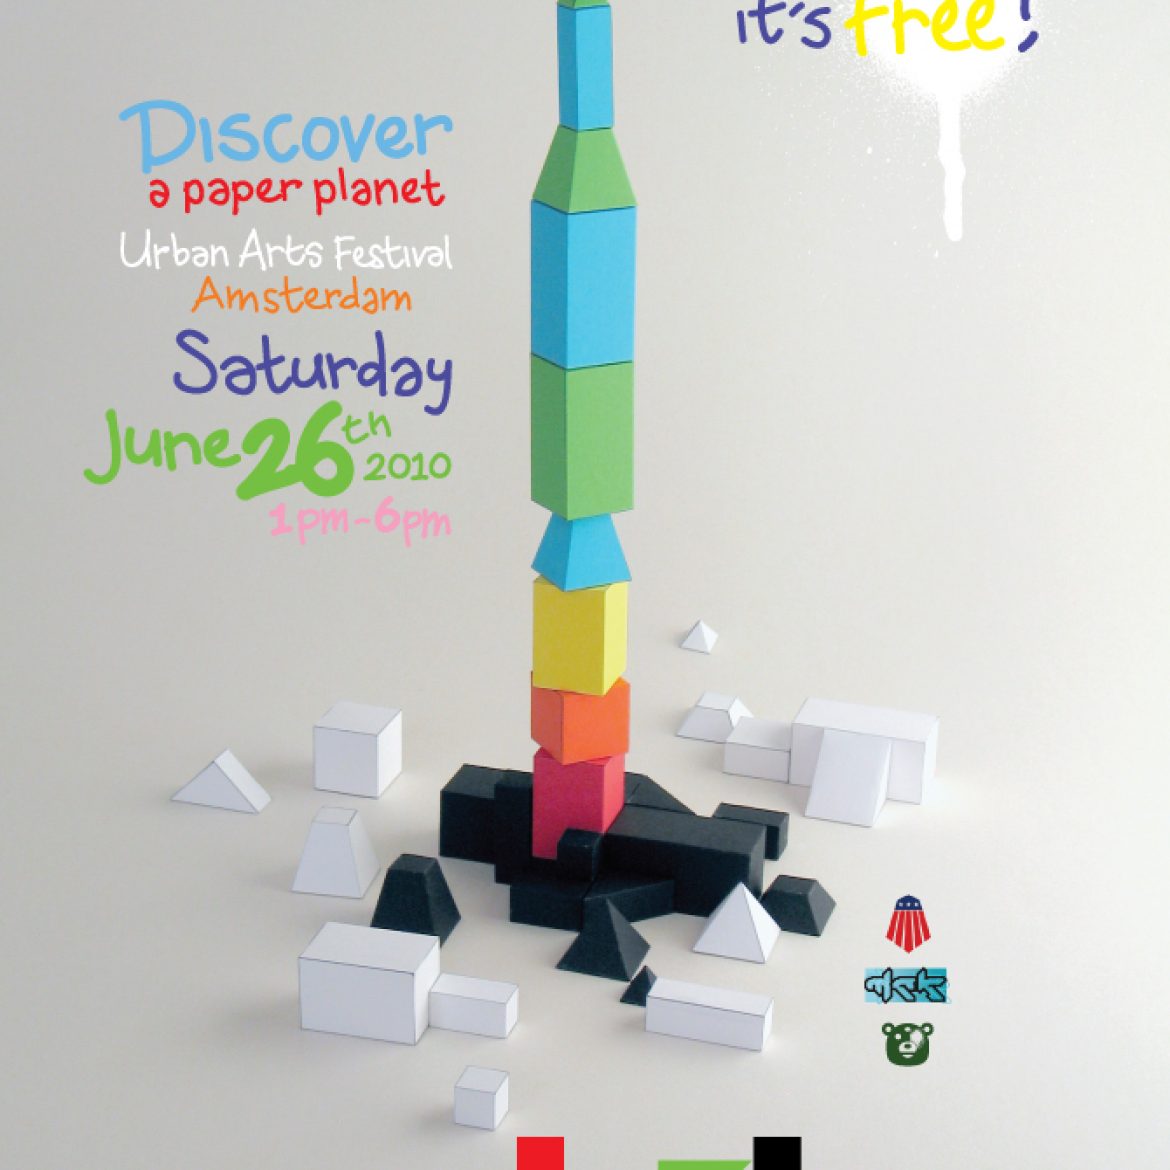
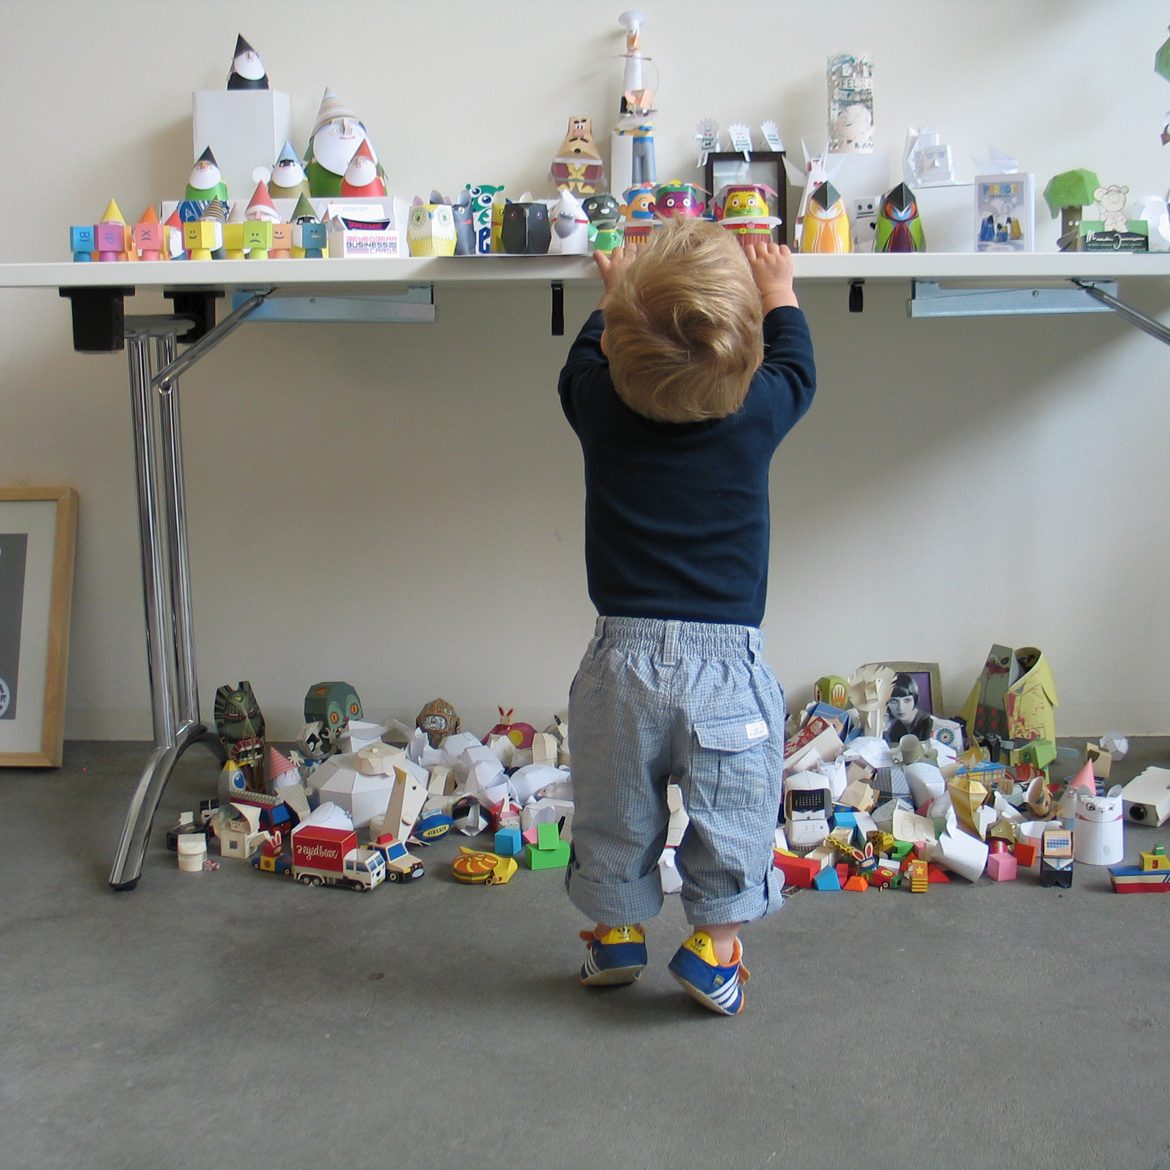
Exhibition
Expo
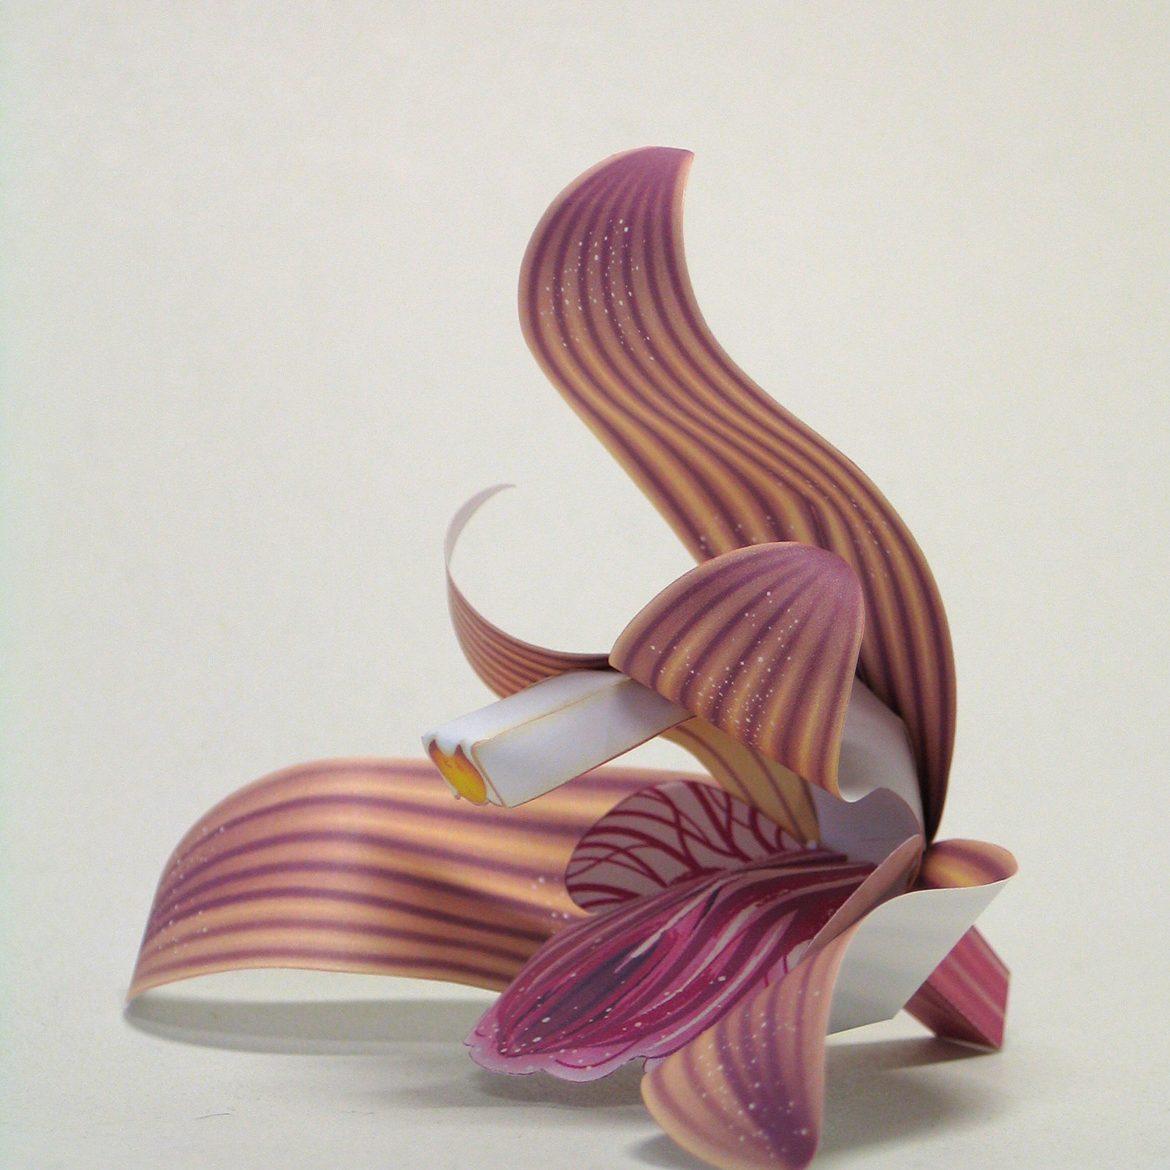
Orchidgami
Commission
,
Free Download
Free Models!
Expo
,
Free Download
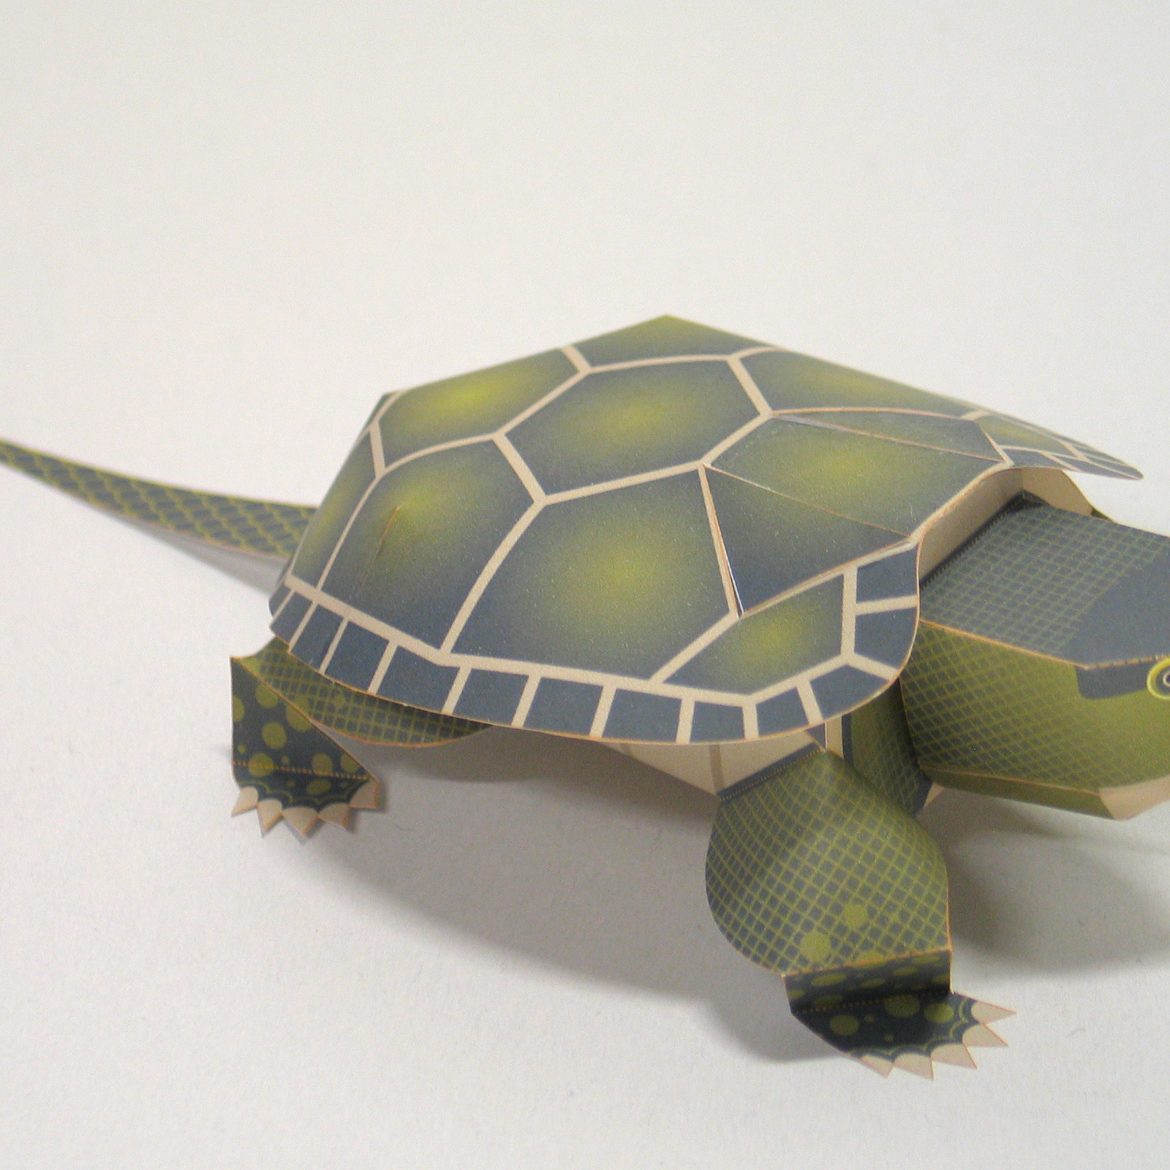
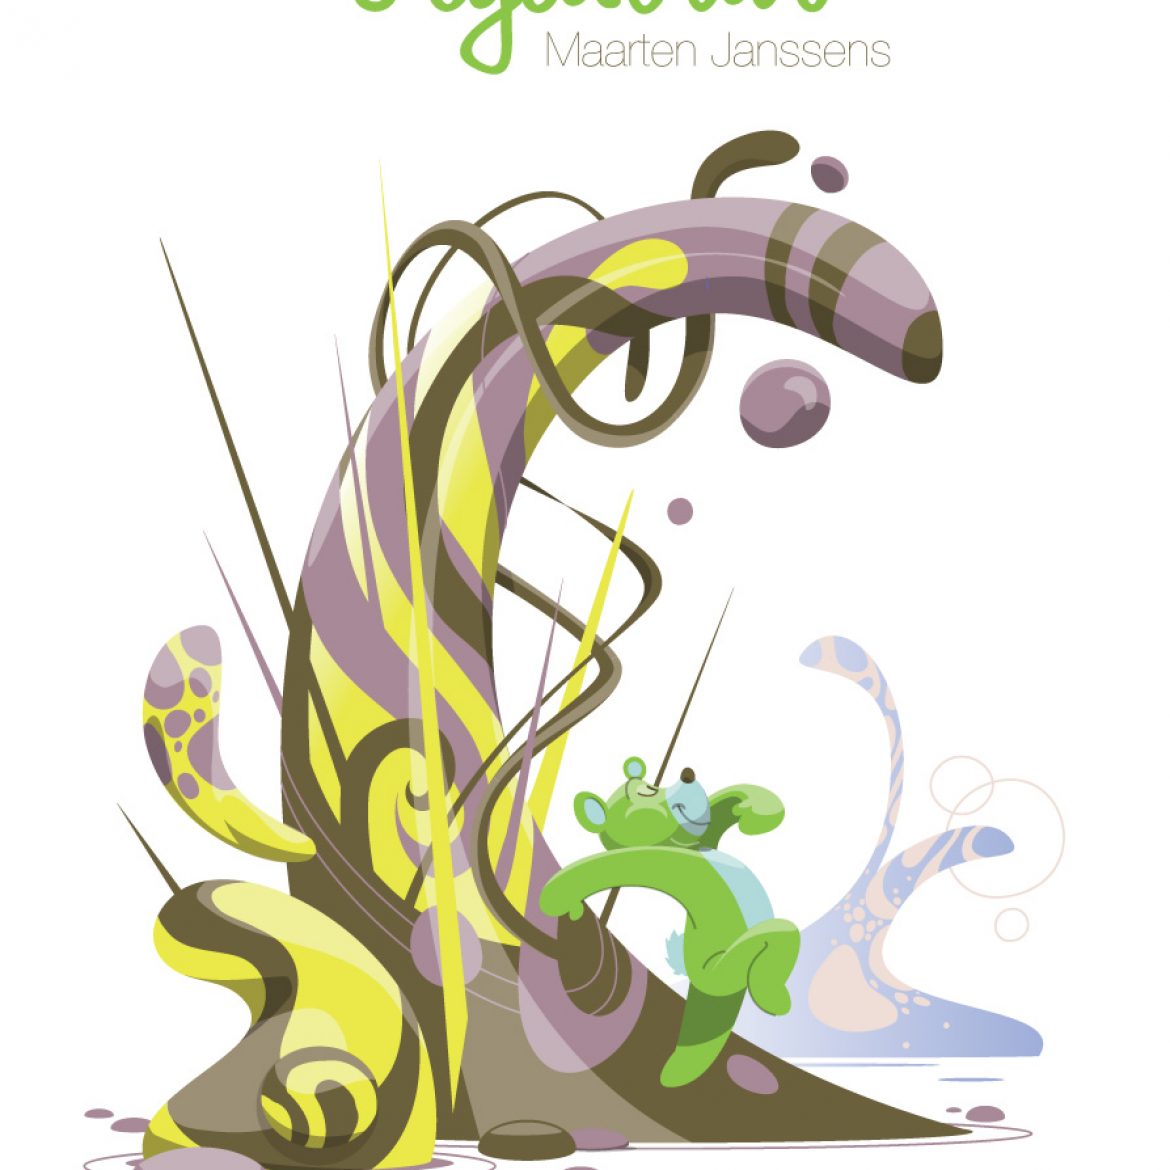
Gaian
Shop
mr Mascotte
Branding
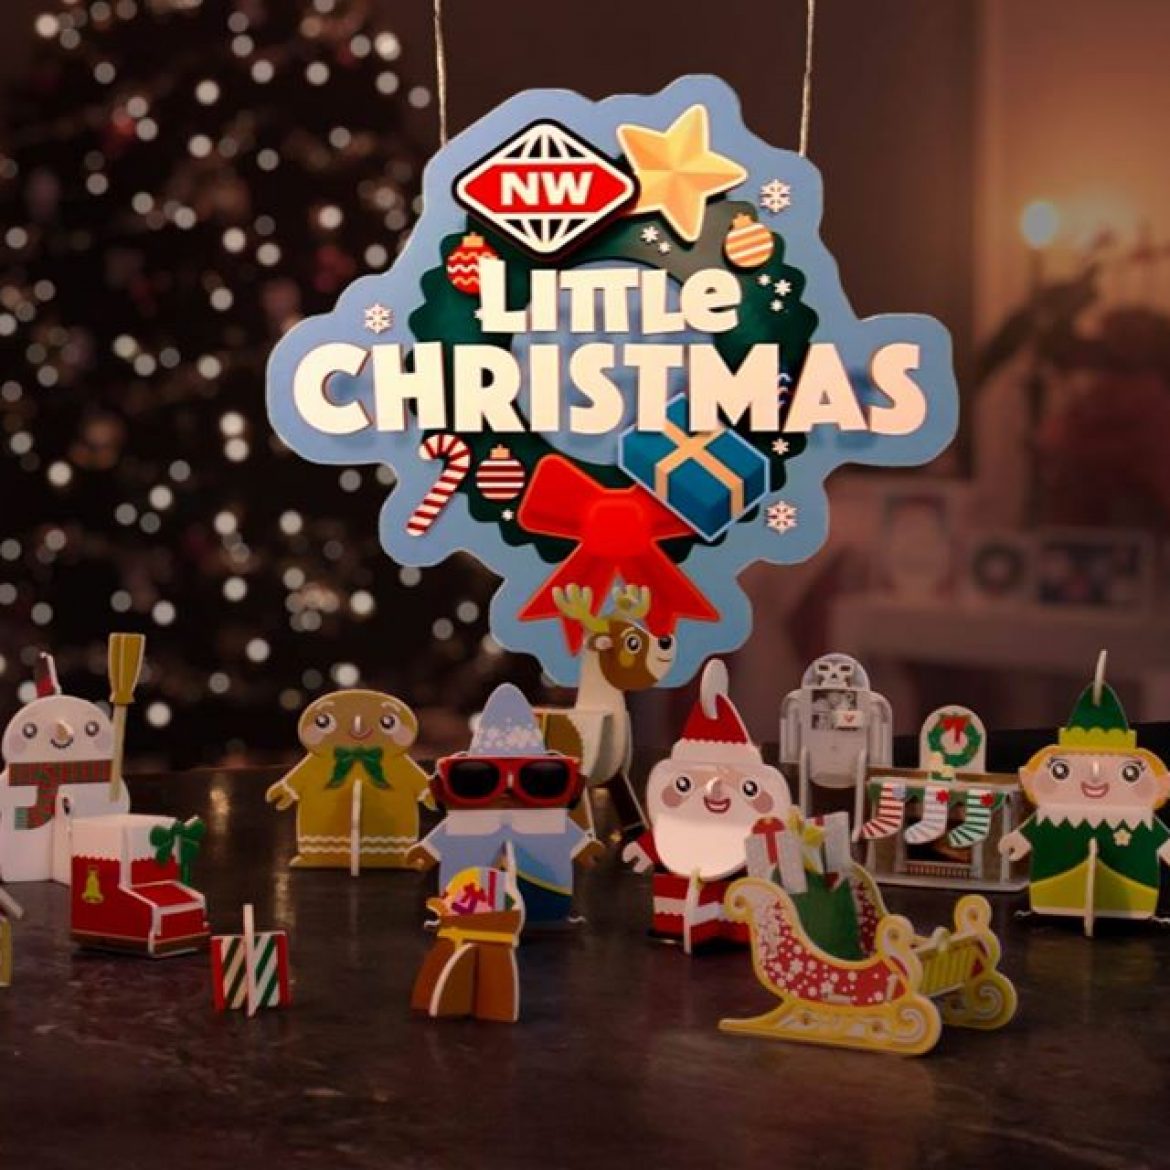
Little Christmas
Commission
,
Video
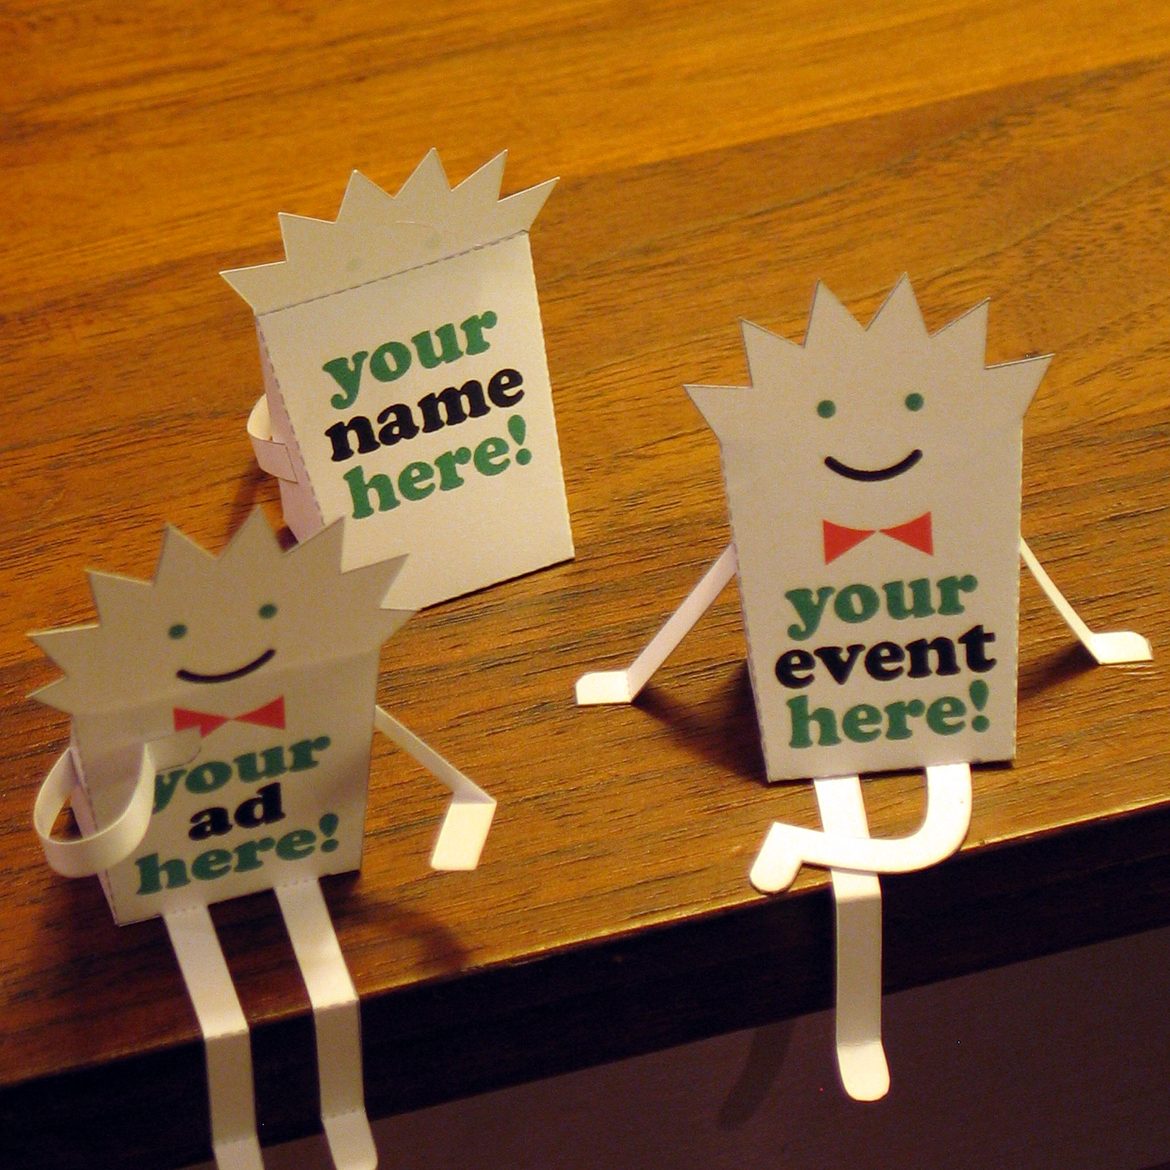
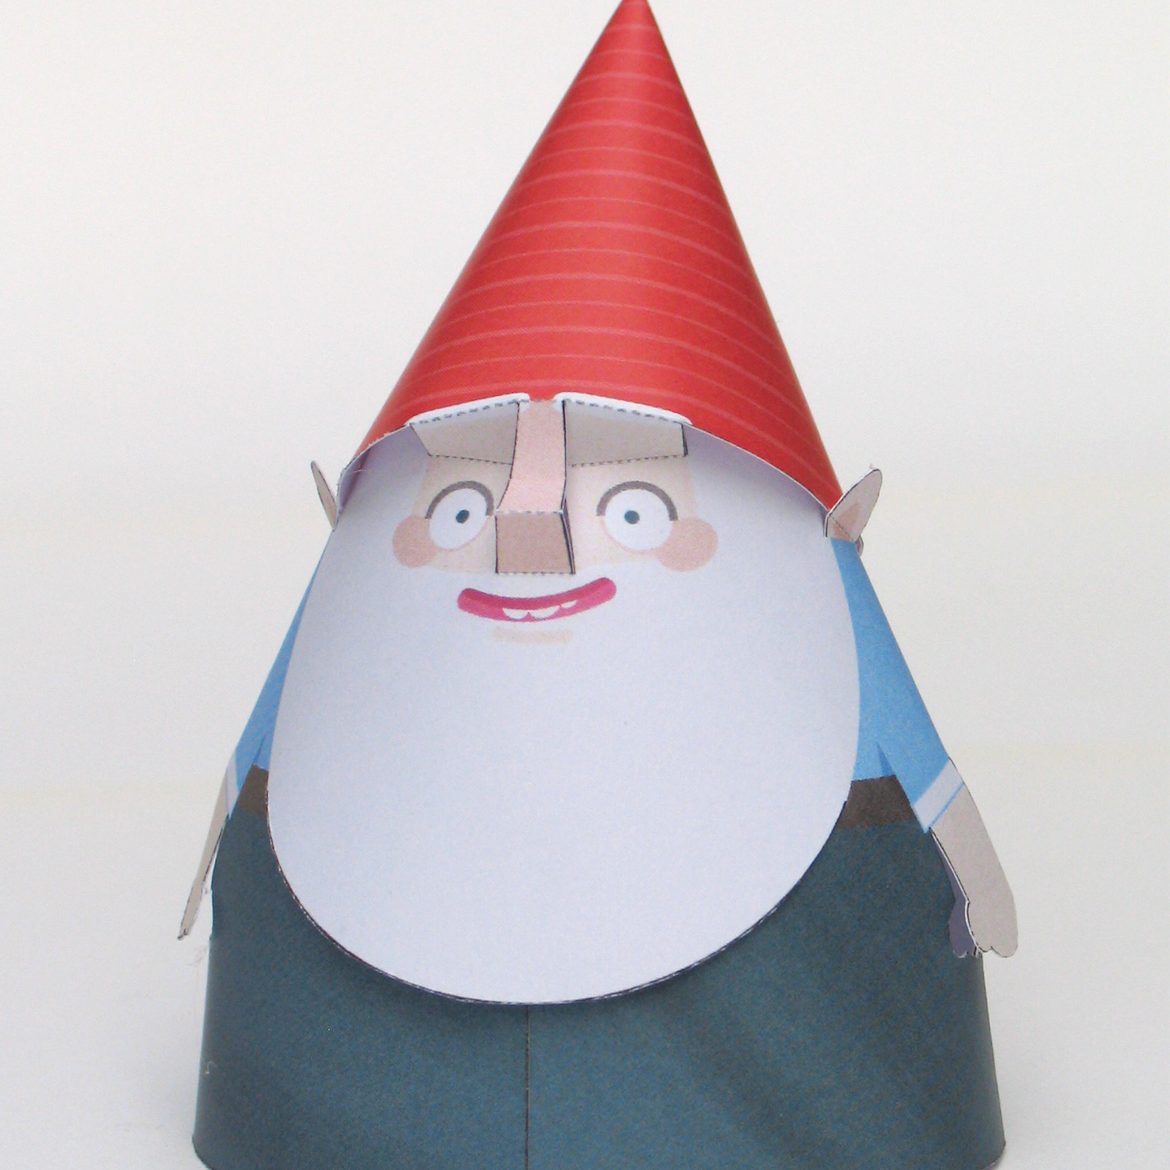
the Snorfs
Free Download
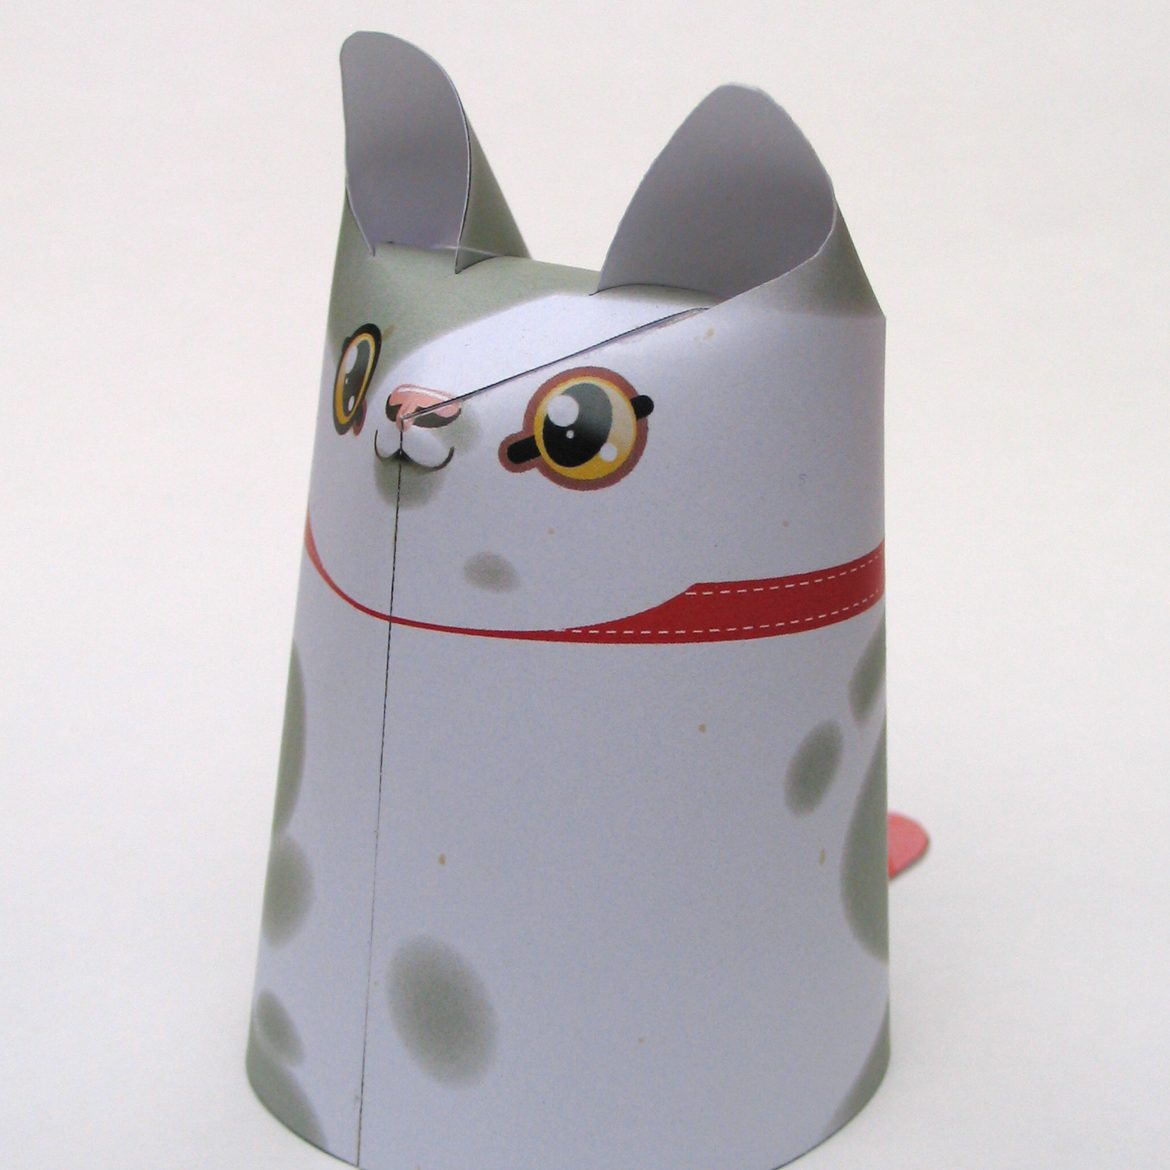
Meow!
Free Download
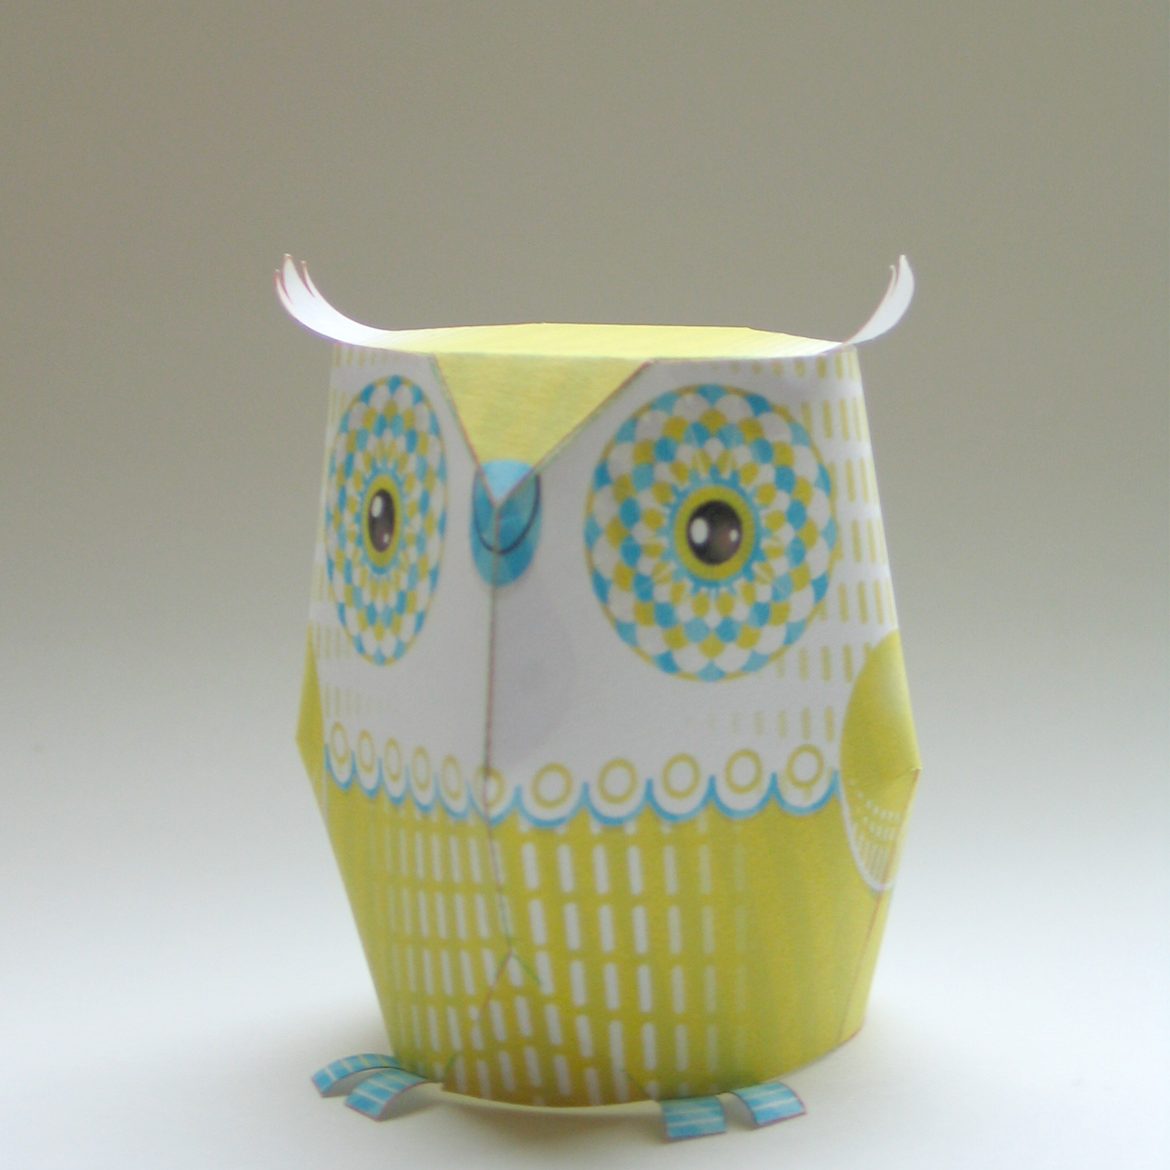
Hoothoot!
Free Download